UBC Day Five: How I Make Stickers!
Introduction:
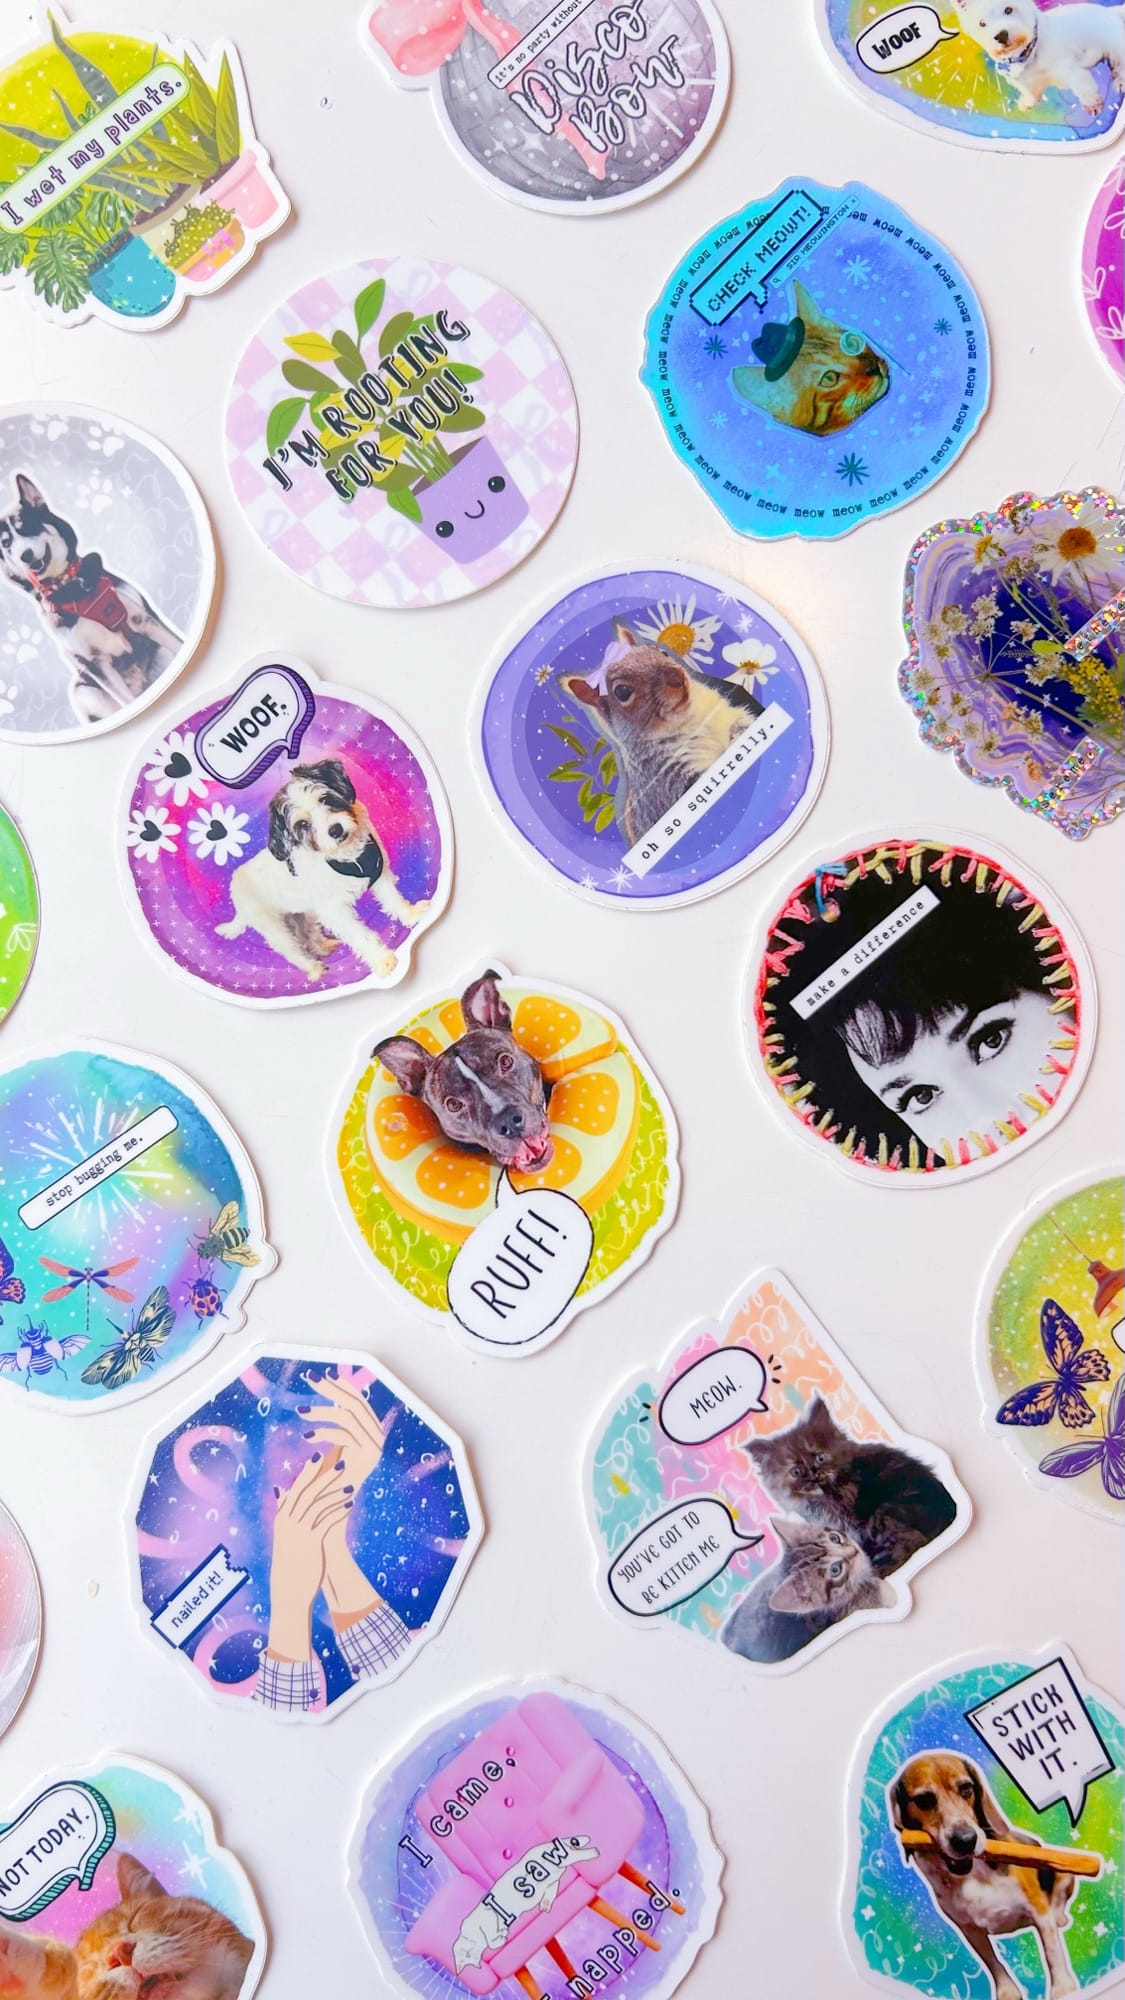
Welcome back! I’m still going strong – if you don’t know, I’m participating in the Ultimate Blog Challenge… and here is day five. Our prompt was: to teach y-o-u (my dear reader!) how to do something… and I thought what better, than teaching you how to make stickers?!
As a rule, we don’t gate keep here. If you’ve ever been interested in making stickers this is the post for you… I’ve actually been meaning to teach a sticker making class in person locally where everyone can design one (or two or three!) and order them. Wouldn’t that be fun?
What You Need:
- A computer, laptop or iPad! (or even your iPhone!)
- Your imagination!
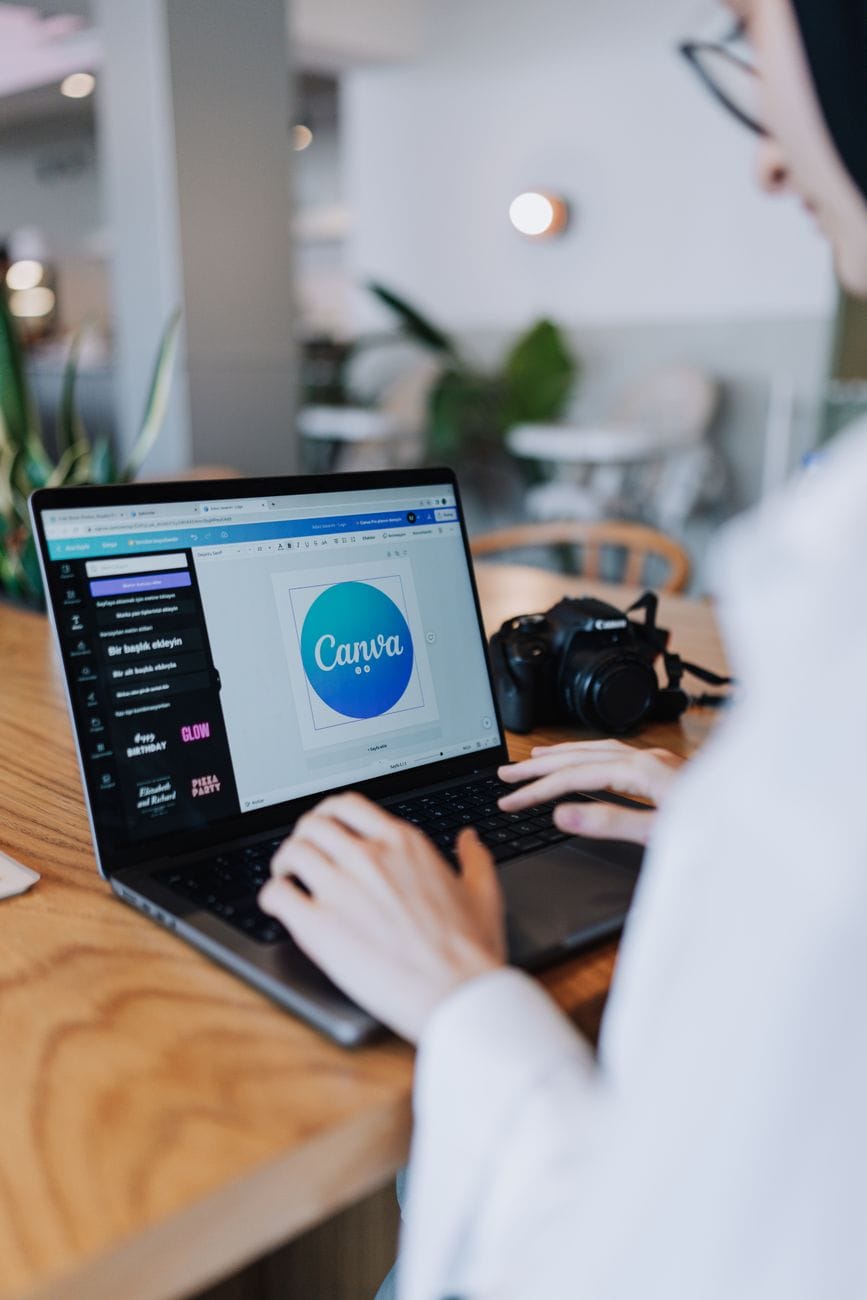
- The app Canva (if you want to be crazy like me and make them on your phone!)
- A photo of your pet, friends or family!
Now that you’ve got all that – you’re pretty much all set.
Let’s Do This Thing!!
Step one. Open the Canva app/browser (whatever you’re most comfortable with)
Step two. Create a new design with the dimensions 1080 x 1080 pixels. This is a perfect square.
Step three. Search for a background image (I use watercolour circles (shown in the video below!) but you can make your own if you search for a “circle frame” in the elements tab. It should look like a circle with a landscape photo inside of it.
Step four. Now that you’ve got your background let’s find some more elements and start layering. You can search for whatever your heart desires (whether it’s bows, stars, alpha letters, squiggles, speckles, light effects, etc!)
Step five. Let your imagination run wild.
Step six. Now, upload your photo of your pet, family, or friend. You would then use the background removal tool in the app, but it’s only available for pro accounts unfortunately!
However, there’s a work around… remove the background here: remove.bg and then upload the photo to Canva on your existing design. If you want the coloured border around the image look for “Shadows” and click “Outline” set it to the right colour and change the width.
Step seven. Add some text (optional!) Maybe add a funny pun or saying in a speech bubble? A mantra, quote or catch phrase? The sky’s the limit!
Step eight. Fine tune and add finishing touches! Don’t just plop a background together and throw a photo on top. Have fun with it!
Step nine. Save the finished product – yayyy! You’re done – you’ve made a sticker! So exciting! Now you can make more. The possibilities are endless.
Step ten. Depending on where you live, you can send me the files and I can get them printed or you can email me at hello@whimsybrooke.com to get the details!
Disclaimer: In case you’re wondering – yes, I make most of my stickers on Canva but I’ve asked them directly what the protocol on selling them is like – and they said as long as they’re heavily edited (multiple layers and lots of editing!!) then you’re fine to sell them. (If that’s what you want to do!)
Here’s a little video if you’re a visual learner like me!
I really hope you enjoyed this! Let me know if you have any questions?
Discover more from Whimsy Brooke
Subscribe to get the latest posts sent to your email.

How fun! I use Canva from time to time. So many possibilities.
Right?!!! Canva is the best! I ordered my business cards and a branded tshirt through them!
What a fun tutorial. Thanks for sharing this.
Aww! Thanks so much!! I’m glad you enjoyed it! I hope to share more soon!
I love this! Lia has been playing around with Canva since she was 3 years old but never thought of stickers. She is visiting for the month so this will be a great new project for her. Thank you for the detailed instructions, I’m sure she will be so excited to get started.
Awww! That’s so fun! I adore Canva. Stickers are the absolute best – I’ve been sticking them everywhere since I was knee high to a grasshopper!!! Haha. Ohhh – I hope you have an amazing visit! Let me know how the sticker making goes or show me sometime?? I’d love to see!
Natalie!!! I LOVE this! How fun! I use Canva a lot, but had never created stickers. I’ve also checked your Instagram and followed you (@thewritingshedclub). Your profile is super fun. 🙂
Ahhh! That makes me SO happy! Thanks so much! You totally should make stickers. I’ve got some bookish ones – and should make some writing related ones! Thanks for following me on Instagram! I followed back! I hope to hear from you soon? Actually, I’ll just DM you there! Haha. Thanks again!
As an artist myself, I also love creating digital assets, including stickers. I appreciate you sharing your written workflow and the video as well. Maybe we can do a collab for making stickers if you’d like. 🙂
That’s way too cool! Hello fellow artist! I’d love to see your stickers and collab – I haven’t done one sticker related yet, but would absolutely love to! Thanks for reading and commenting! Message or email me about the collab?